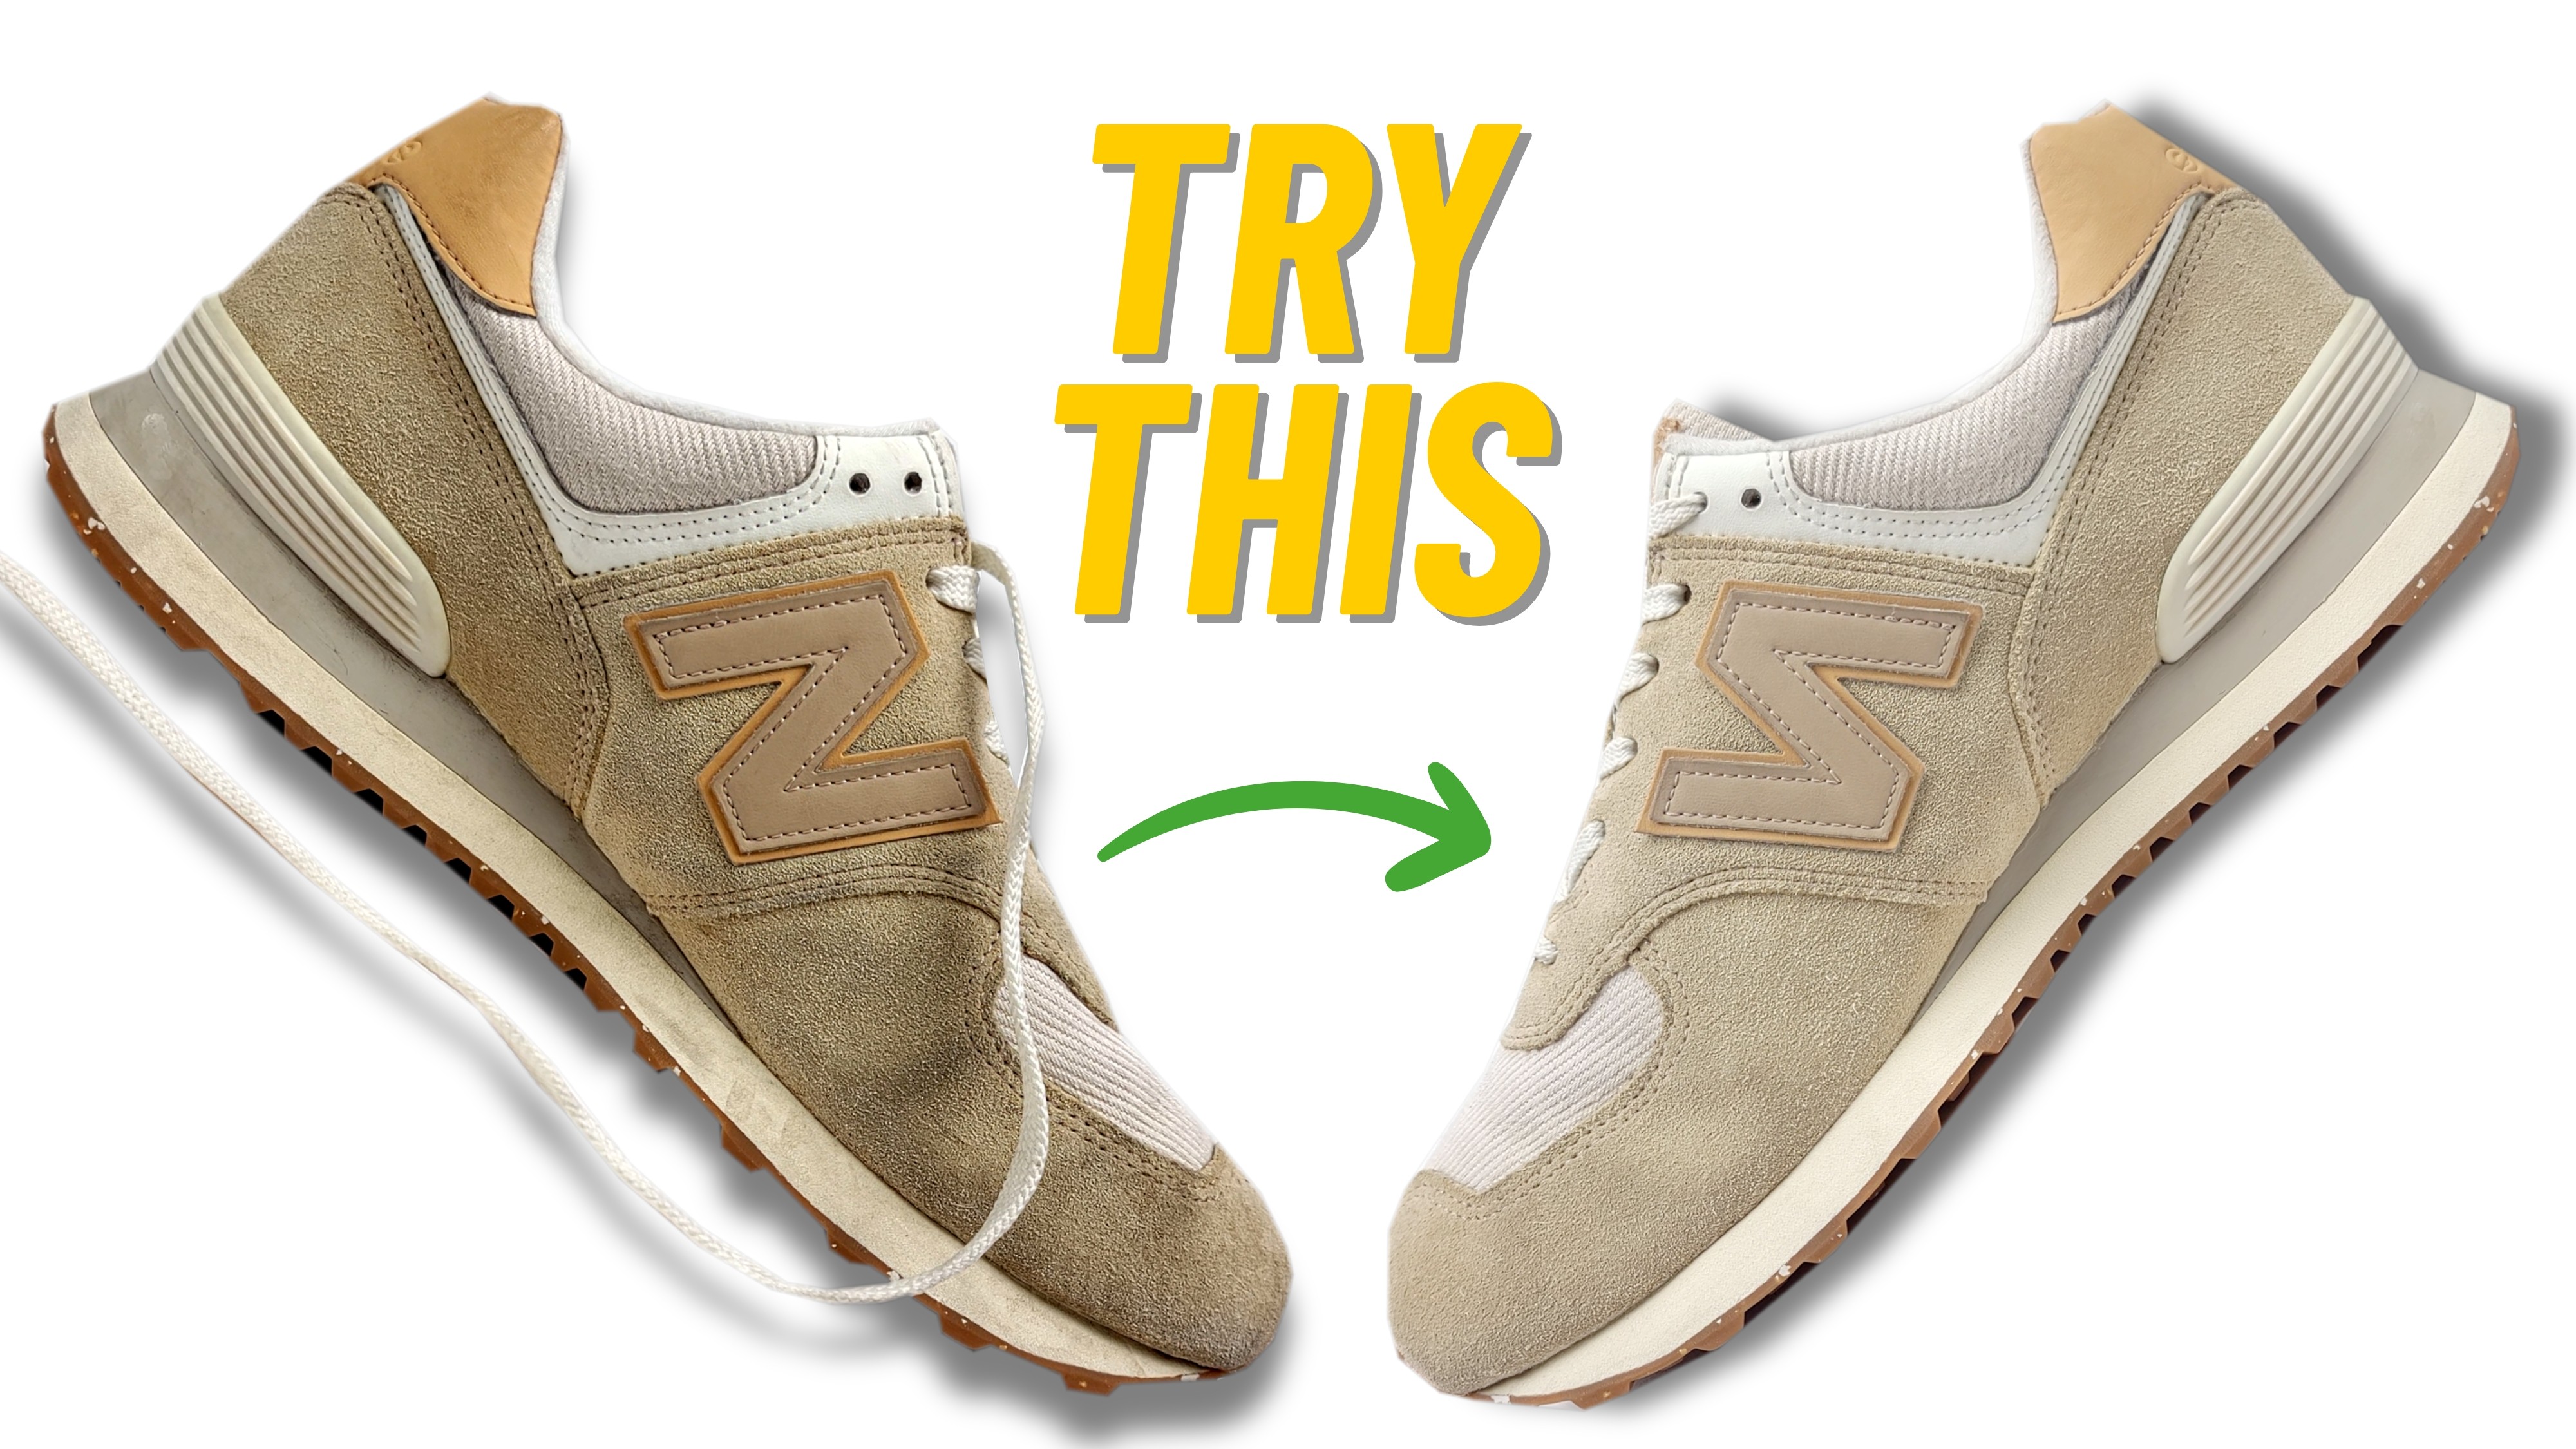
This Is The Last Suede Care Video You'll Ever Watch
Most people see a pair of suede shoes looking dirty, flat, or matted and assume it is time to throw them away.
That is exactly what the footwear industry wants you to think.
They want you to view suede as a fragile, temporary material that should be discarded at the first sign of a stain.
I am here to tell you that this is a lie.
Suede is remarkably durable and resilient if you know how to work with it.
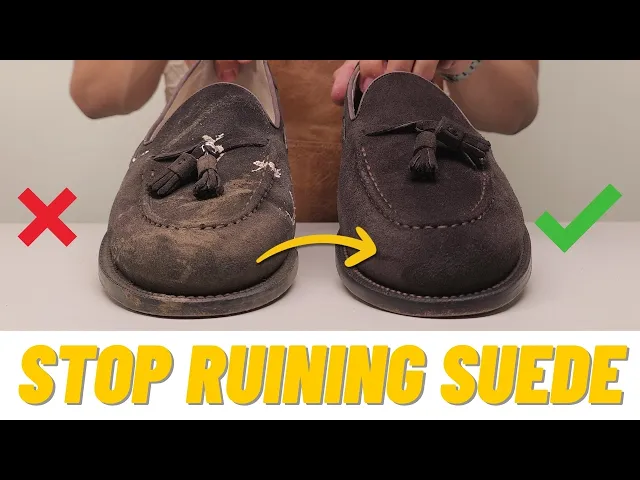
I recently took a pair of Grant Stone suede loafers and recklessly wore them just to prove a point.
They looked ruined, but with the right system, I brought them back from the dead.
Structuring Your Suede for Success
Before you touch your leather with a brush or a cleaner, you must give the item some structure.
I always use a cedar shoe tree to help the shoe hold its shape while I work.
Suede is made of a network of tiny fibers, and when a shoe collapses in your hand, you cannot clean those fibers evenly.
Proper structure ensures that your cleaning tools reach deep into the nap rather than just skimming the surface.
If you are working on a suede jacket or a bag, stuff it with towels to create a firm surface.
This prevents the material from folding and trapping dirt in the creases.
Preparation is the difference between a professional restoration and a messy amateur attempt.
The Dry Cleaning Foundation
The biggest mistake I see people make is introducing moisture too early.
If you apply a liquid cleaner to a dusty or gritty surface, that dirt turns into mud.
That mud then cakes into the suede fibers, making your job ten times harder than it needs to be.
I always start with a Grant Stone horsehair brush to remove loose surface debris.
For dirt that is sitting deeper inside the nap, I switch to a Saphir pig bristle brush because it has more bite.
If you do not have a specialized brush, you can take a toothbrush and cut the bristles down halfway with scissors.
This creates a sturdy, short bristle that allows you to mechanically agitate and remove stubborn debris.
Sometimes a brush is not enough to dislodge substances that have clung to the fibers.
In these cases, I use a thin, hard tool to gently scrape off surface debris.
While it might feel nerve wracking to use a tool like this on suede, it is a foolproof way to lift what a brush leaves behind.
Suede is not a delicate baby: it can handle focused, intentional mechanical cleaning.
The Mechanics of the Suede Eraser
Once the loose dirt is gone, you can focus on specific marks using a suede eraser.
A proper suede eraser is not like the one you used in grade school.
It is specially formulated with a gritty texture designed to pull embedded dirt onto the eraser shavings.
As you rub the eraser against the suede, friction transfers the grime onto the shavings as they fall away.
The most important part of this step is to brush away those shavings after every few passes.
If you leave the shavings on the surface, you risk rubbing the lifted dirt right back into the material.
It is a simple rhythm: rub, brush, and repeat.
In many cases, these dry cleaning steps are all you need to restore the look of your leather.
Mastering the Wet Cleaning Phase
If dry cleaning fails to remove deep staining or heavy buildup, it is time to move to a wet cleaning protocol.
This is the part where most people get nervous, but I am here to hold your hand through the process.
The industry will tell you that getting suede wet is a death sentence, but that is a myth.
The danger is not the water itself: it is the ratio of cleaner you use and how the material dries.
For light soiling, I use a 1:4 ratio of cleaner to water.
If the shoes are heavily soiled, I move to a 1:2 or even a 1:1 ratio.
Using a cleaner at full strength can dry out the fibers and cause the color to fade prematurely.
Never spot clean a single area of a suede item.
Cleaning just one spot almost always results in a watermark, also known as a tide mark.
To avoid this, you must clean the entire panel or the entire shoe to ensure an even finish.
Work one section at a time and wipe off excess moisture with a clean cloth as you go.
Your goal is to keep the suede evenly damp rather than soaking it through to the lining.
Navigating the Awkward Drying Stage
After the wet cleaning is done, you must let the suede dry naturally.
Do not succumb to the temptation of using a hair dryer or placing your shoes near a heater.
Extreme heat will make the leather stiff and brittle.
When suede dries after being wet, it often looks worse before it looks better.
The fibers will likely appear matted, flat, or even slightly crunchy.
This does not mean you have ruined the leather.
It simply means the nap is dormant and needs to be resurrected.
Be patient and wait until the material is completely dry before moving to the next step.
Resurrecting the Nap
To bring back that soft, velvety texture, you need a tool with enough grip to lift the flattened fibers.
I use a Saphir Crepe Brush for this task.
The crepe rubber creates the necessary friction to grab the nap and pull it back to the surface.
You may see a small amount of shedding as you brush, which is completely normal.
If you notice excessive shedding, you are likely pressing too hard.
A light, consistent motion is all you need to restore the buttery feel of the leather.
If you do not have a crepe brush, your suede eraser can serve as a reliable fallback.
The mechanical action of the eraser pulling at the fibers will achieve a similar result.
Precision Grooming and Singeing
After cleaning and brushing, you might notice a few loose, hairy fibers standing above the rest.
These excess fibers can make the suede look untidy.
To achieve a pristine finish, I use a lighter to very quickly pass over the surface and singe those fibers.
You must never hold the flame in one place for more than a fraction of a second.
If you are not comfortable around an open flame, there is a safer hack that even most cobblers do not know.
An electric shaver on its lowest setting can gently trim away loose fibers to create a uniform surface.
This grooming step is what separates a basic cleaning from a true restoration.
It returns the suede to that factory fresh appearance that most people think is impossible to regain.
Protection Against Future Failure
Once your suede is clean and the nap is restored, you need to protect your hard work.
If the color has faded, a suede renovator spray can help bring the pigment back to life.
However, sometimes the color is just hiding under a layer of dryness.
Once you introduce a bit of moisture or conditioner, the original depth often returns on its own.
The final step is applying a high quality protector like Saphir Super Invulner.
This creates a hydrophobic chemical bond that causes water to bead up and roll off the surface.
While this is not a magic suit of armor, it gives you time to respond when accidents happen.
Protection is about stewardship: it is about making sure your investments last for decades rather than seasons.
Routine care prevents premature wear, and if you take care of your leather, it will take care of you.
If this helped your leather, consider supporting Evumies. It is always free, and always will be. A small tip keeps the mission going: Support Evumies.
Watch the Full Video
See every step of this process in the video this post is based on.
Evumies Recommends
Products We’ve Tested & Trust
EVUMIES RECOMMENDED
Leather Honey Leather Conditioner
Keeps leather supple and crack-free — one coat lasts up to 6 months.
4.9
See on Amazon
EVUMIES RECOMMENDED
Bickmore Bick 4 Leather Care
Restores moisture to dried leather without darkening or leaving any residue.
4.7
See on Amazon
As an Amazon Associate, Evumies earns from qualifying purchases.