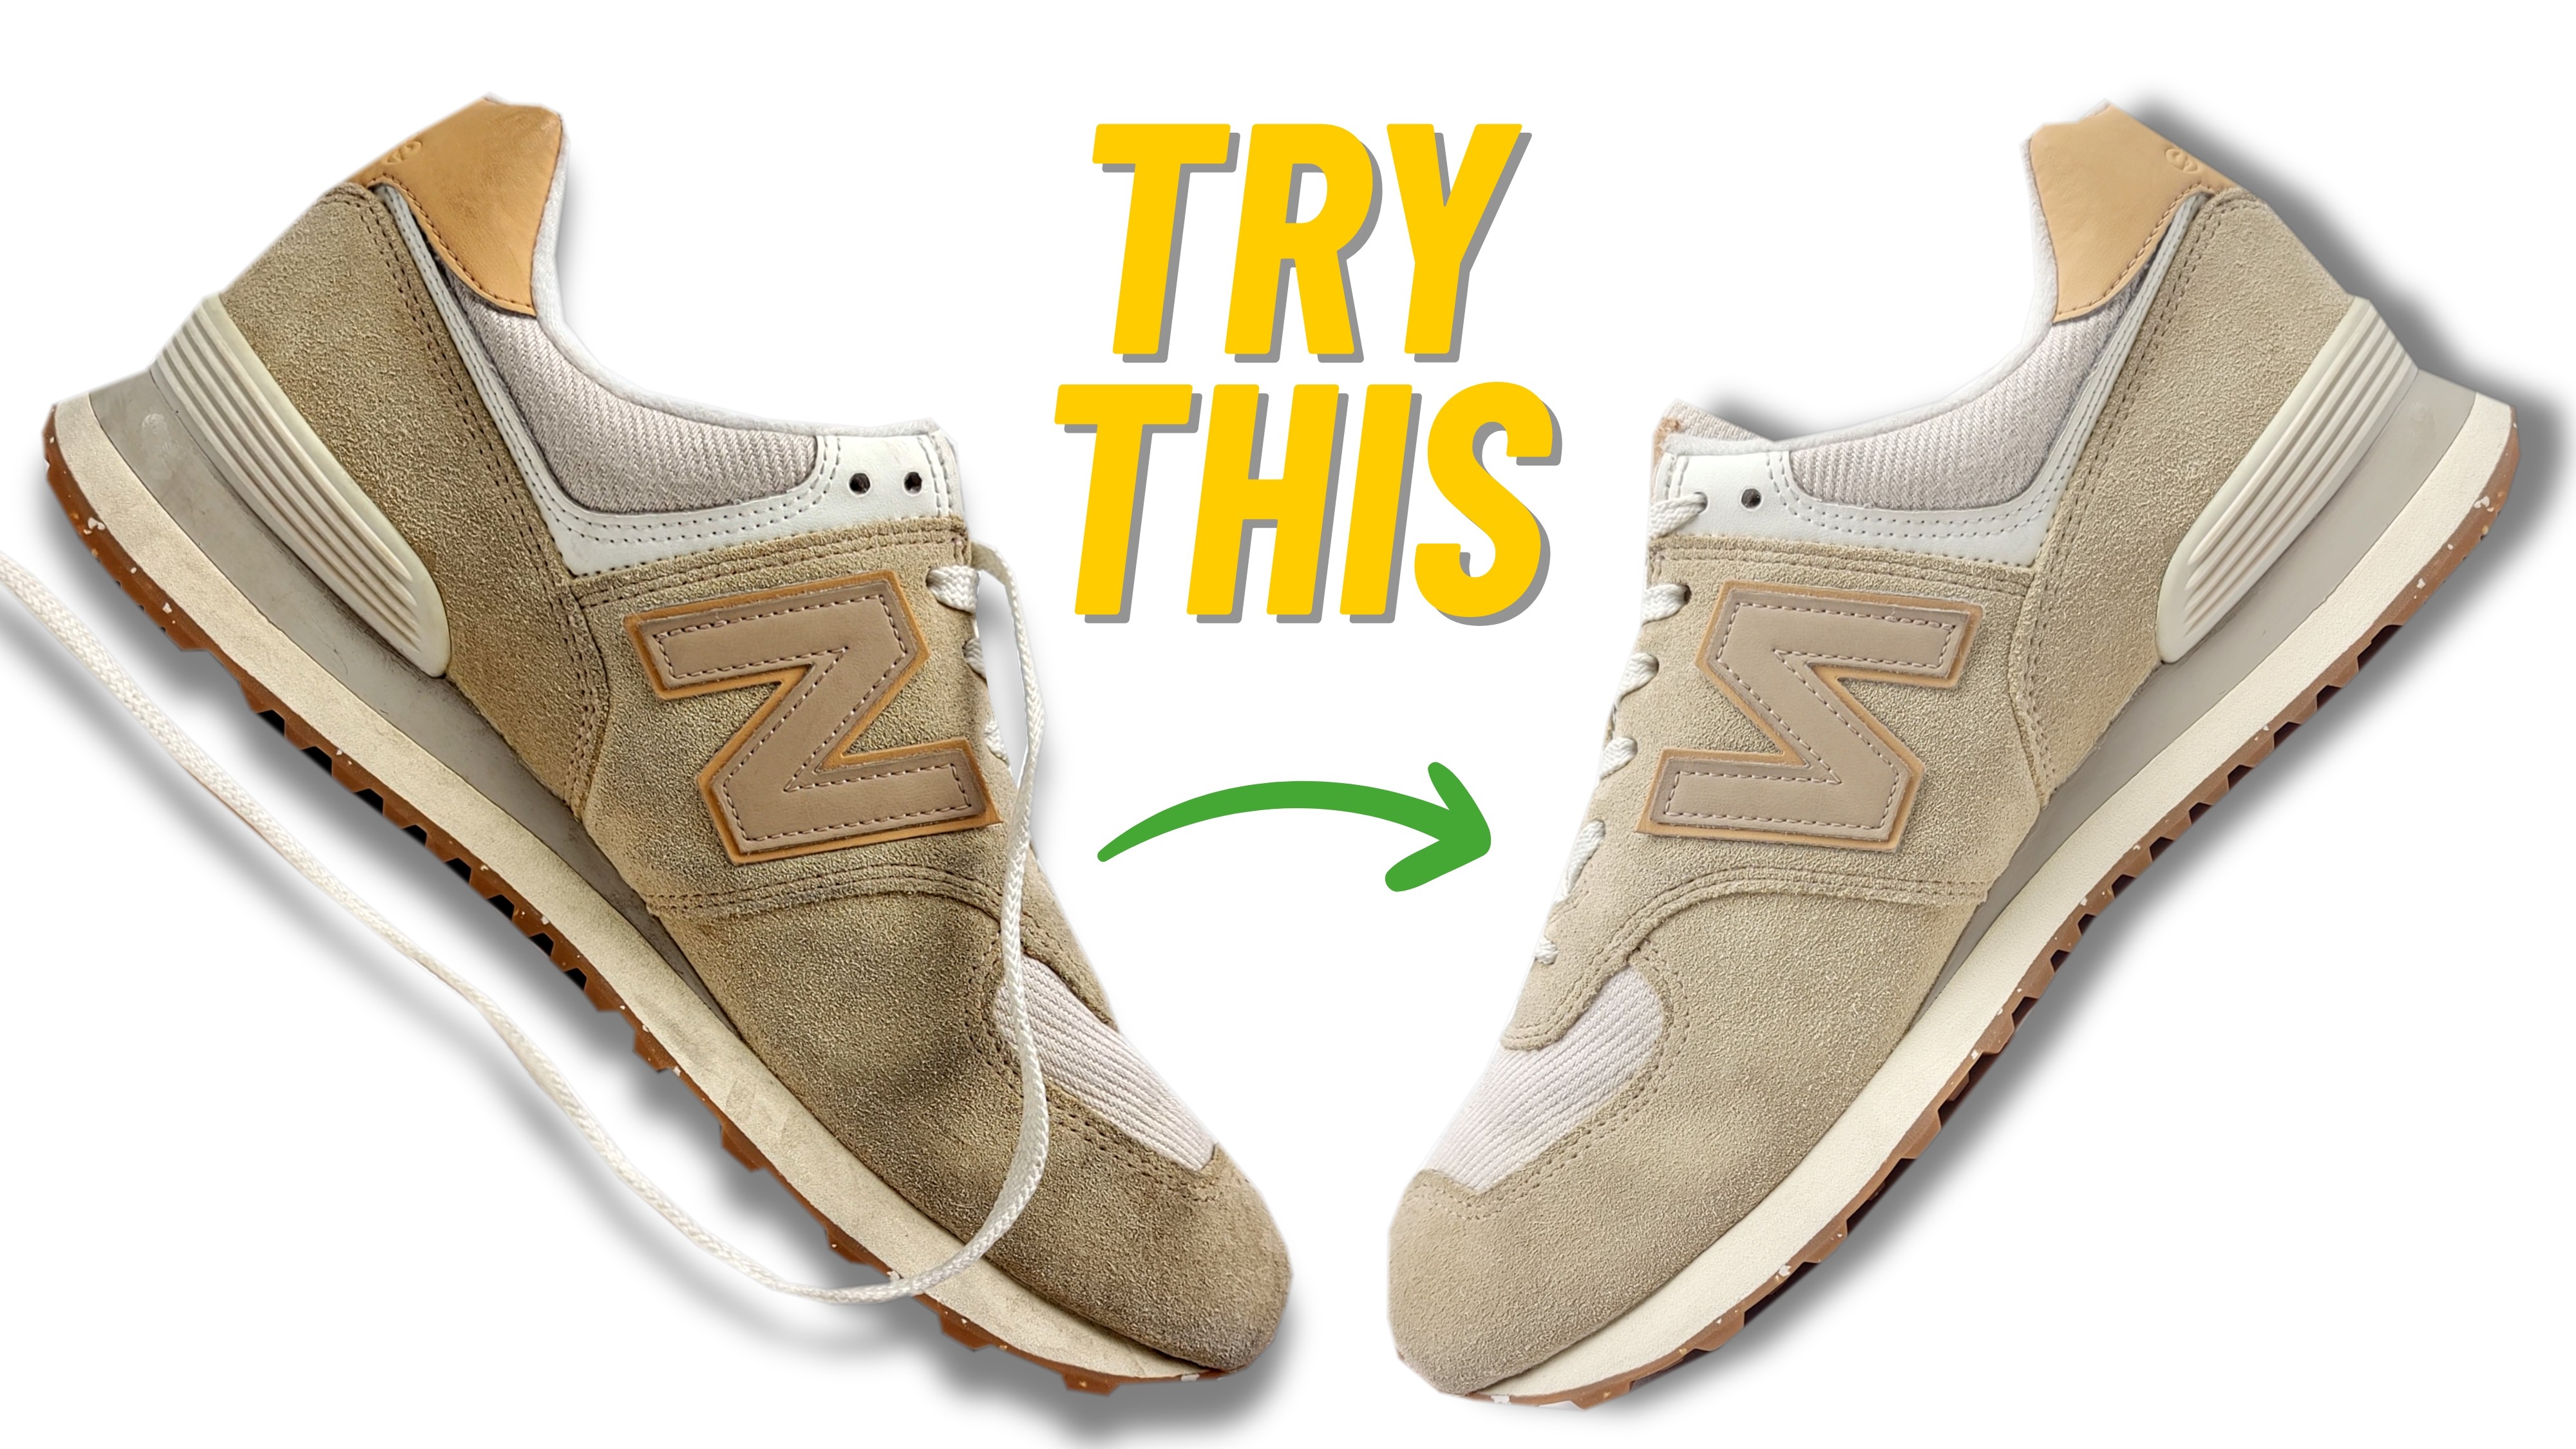
THIS Tool Fixes 90% of Dirty Suede & Nubuck Shoes
You have likely looked at your favorite pair of nubuck sandals and wondered if they were destined for the bin. The footbed starts out soft and velvety, but after a summer of wear, it turns into a dark, shiny, and uncomfortably slick surface. This is not a failure of the leather. It is a buildup of friction, sweat, and environmental dust that has effectively paved over the natural texture of the hide.
Most people assume this darkening is permanent staining. They think the leather has reached the end of its life because it no longer feels like the premium material they bought. This misconception is exactly why so much high quality leather ends up in landfills. The truth is that the leather is just fine: it is simply buried under a layer of compacted grime.
I have spent years obsessing over how to reverse this exact type of neglect. In my experience reselling leather, I found that restoring the nap of suede and nubuck was the single most effective way to boost a shoe's value. You do not need a chemistry degree or an expensive professional service to fix this. You just need a specific, repeatable routine to bring those fibers back to life.
The Physics of Compacted Nubuck
To fix the problem, you have to understand what nubuck actually is. Unlike smooth leather, nubuck is created by sanding the top grain of the hide to create a soft nap. These tiny, upright fibers are what give the material its buttery feel and matte appearance. When you wear sandals, your body heat and natural oils press those fibers down.
As the fibers lay flat, they trap sweat and dust. This creates a hard, shellacked surface that feels more like plastic than leather. If you try to clean this with heavy soaps and water, you often make it worse. Water can further mat the fibers or cause the leather to stiffen as it dries. This is why a mechanical approach is almost always superior to a chemical one.
The goal is to physically lift the fibers back into an upright position. We are not just cleaning the surface. We are exfoliating the leather to remove the debris trapped between the microscopic hairs of the hide. Once those fibers are free to move again, the softness returns instantly.
Establishing a Foundation with Dry Cleaning
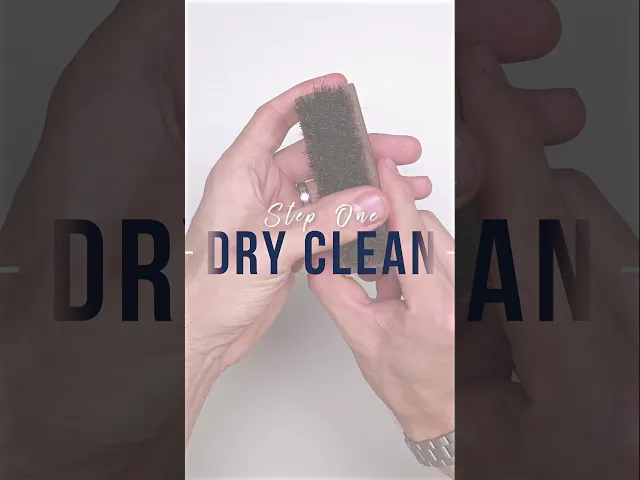
The first step in any restoration is removing what I call the "easy dirt." You should never jump straight to an eraser or a cleaning solution without a thorough dry brush. This is the most overlooked part of the process. If you leave loose dust on the surface, you will simply grind it deeper into the pores as you work.
I start by using a soft brush or a clean microfiber cloth to gently sweep the straps and the footbed. You want to focus on the areas where the leather meets the sole. These crevices act as magnets for grit. A light touch is all that is required here: you are just clearing the stage for the real work.
Think of this step as a preventative measure. If you do this once a week, you significantly slow down the rate at which the fibers become compacted. It is a simple habit that extends the life of the nap. For most people, however, the damage is already done, and that requires the intervention of a specialized tool.
Using the Suede and Nubuck Eraser
When the leather has become shiny and hard, you need something that can grab onto the grime. This is where the suede and nubuck eraser becomes essential. In my own kit, I rely on the Leather Honey Suede and Nubuck Care Kit to handle these restorations. It provides the exact mechanical friction needed to break up the surface crust without damaging the hide.
You use the eraser by gently rubbing it onto the affected areas. I recommend using light pressure and working in small, circular motions. As you rub, the eraser will begin to crumble. This is intentional. The shavings are actually lifting the dirt, salt, and oils away from the leather and holding them in the debris.
You will see the shiny spots begin to dull and the color begin to lighten. This is the nap being restored. As you work, you should periodically brush away the shavings with your suede brush. This allows you to see your progress and ensures you are not rubbing old dirt back into the grain.
The Power of Repeating the Process
Rarely is a deeply soiled footbed fixed in a single pass. The grime often exists in layers. You might clear the top level of dust only to find a deeper layer of compacted oils underneath. This is where patience becomes your greatest asset in leather care.
If a spot remains dark or stiff, simply repeat the eraser process. Apply the same light pressure and watch for the shavings to change color. When the shavings start coming off clean, you know you have reached the actual leather. This is the moment when the "buttery" feel returns to the nubuck.
For many jobs, you can honestly stop right here. You do not always need to add more moisture or conditioners to the leather. Once the fibers are standing up and the debris is gone, the leather is naturally soft again. It is a satisfying transformation that makes the sandals feel brand new against your feet.
Overcoming the Fear of Ruining the Nap
I often hear from people who are afraid to use an eraser because they think they are "sanding" away their shoes. It is important to remember that nubuck is incredibly durable. It is a top grain leather that has already been processed with abrasives to create the texture. You are not hurting it by using a specialized eraser.
The only real danger is using too much force or using the wrong tools. Never use a standard pencil eraser or a harsh chemical degreaser on nubuck. These can leave stains or dry out the leather to the point of cracking. As long as you use a dedicated leather eraser, you are simply performing a deep exfoliation.
Be honest with yourself about the state of your gear. If the leather is currently so hard that it causes blisters, you have nothing to lose by being thorough. The risk of neglect is far higher than the risk of careful maintenance. A well maintained pair of nubuck sandals can easily last a decade if you keep the fibers open and clean.
Developing a Stewardship Mindset
Caring for leather is an act of resistance against the "throwaway" culture that dominates our world today. It is far easier to click a button and order a new pair of sandals than it is to spend twenty minutes with a brush and an eraser. However, the reward for that effort is a pair of shoes that fits your feet perfectly and carries the character of your travels.
Every time you restore a piece of leather, you are proving that quality is worth the investment. You are choosing to be a steward of your possessions rather than a mere consumer. My goal with Evumies is to provide the information that makes this stewardship possible. Reliable information is the only thing standing between a discarded pair of shoes and a restored heirloom.
Take a look at your closet today. Find that one pair of nubuck shoes you stopped wearing because they felt "gross" or "worn out." Grab a brush and an eraser and spend some time reviving the nap. You will be surprised at how much life is still left in the leather once you clear away the noise.
If this helped your leather, consider supporting Evumies. It is always free, and always will be. A small tip keeps the mission going: Support Evumies.
Watch the Full Video
See every step of this process in the video this post is based on.
Evumies Recommends
Products We’ve Tested & Trust
EVUMIES RECOMMENDED
Leather Honey Leather Conditioner
Keeps leather supple and crack-free — one coat lasts up to 6 months.
4.9
See on Amazon
EVUMIES RECOMMENDED
Bickmore Bick 4 Leather Care
Restores moisture to dried leather without darkening or leaving any residue.
4.7
See on Amazon
As an Amazon Associate, Evumies earns from qualifying purchases.