Your Leather Sandals Will Last DECADES If You Do This
You remember the day you bought them. You stepped into those leather sandals and the footbed felt like butter. Every step was cushioned by a soft, plush texture that seemed to melt under your toes. It was the kind of comfort that made you believe the marketing hype about quality footwear.
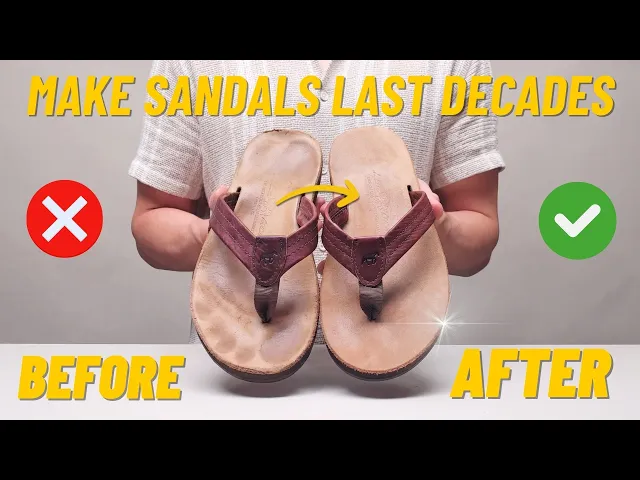
That feeling was short lived. Now, after a season of salt, sand, and city streets, that soft nubuck leather has transformed. It is compacted with dirt. It is grimy from sweat. It has developed a dark, shiny glaze that feels more like hard plastic than premium leather. You might even feel like your feet are sliding around on a surface that no longer breathes.
Most people look at this transformation and assume the sandals are finished. They think the leather has reached its natural expiration date. This is the consumerism trap. You are led to believe that once the "newness" wears off, the item is ready for the bin. That is a lie born of bad information.
The truth is that your sandals are not ruined: they are just neglected. Nubuck is a remarkably durable material, but it is also misunderstood. It requires a specific touch to stay soft. I am going to show you a simple, repeatable routine to clean and revive your sandals so they actually feel good again.
Understanding the Difference Between Nubuck and Smooth Leather
Before we touch the leather, we have to understand what we are working with. Nubuck is essentially top grain leather that has been sanded down. This process exposes the tiny protein fibers of the hide, creating that soft, velvet like nap that feels so good against the skin. Because these fibers are exposed, they act like a sponge for oils and moisture.
This is why your sandals get dark and hard. Your foot produces sweat and oils, which the nubuck absorbs. Over time, the weight of your body presses those oily fibers down until they mat together. This creates a compacted surface that loses its breathability and softness. Leather is built to last decades, but nubuck needs regular maintenance to keep its texture.
If you treat nubuck like smooth leather by applying heavy waxes or creams, you will ruin it forever. Those products will permanently flatten the nap and turn your sandals into a greasy mess. We are going to use a different approach that focuses on lifting the fibers rather than weighing them down.
The Essential First Step of Dry Cleaning
The most common mistake is jumping straight to liquid cleaners. When you apply liquid to a dirty footbed, you are essentially creating a muddy slurry. You end up pushing the surface dust deeper into the pores of the leather. This can cause permanent staining or even structural damage to the soft nap.
Start with a soft brush or a clean microfiber cloth. Gently work over the straps and the entire footbed to remove loose debris. You want to clear away the dust and sand that acts like sandpaper against the leather fibers. Take your time with this. You are preparing the surface for the real restoration work.
By lifting the surface dust now, you ensure that the following steps are more effective. This is the foundation of good leather care. It is a quiet, simple task that separates the amateurs from the stewards of quality goods.
Lifting the Grime with a Specialist Eraser
For most sandals, a suede and nubuck eraser is the only tool you will ever really need. This is not a standard office eraser. It is designed to crumble as you use it, picking up oils and dirt from the leather fibers and transferring them onto the eraser shavings. It is a dry cleaning method that preserves the integrity of the nap.
Gently rub the eraser onto the compacted or shiny areas of the footbed. Use light pressure and watch as the dark, grimy spots begin to lighten. As you rub, the eraser will produce small shavings. These shavings are literally carrying the dirt away from your leather.
Use your brush to sweep away the shavings as you go. You can repeat this process on stubborn spots until the leather starts to feel fuzzy again. For many of you, this step alone will restore that "buttery" feel you have been missing. It is the most effective way to reverse the effects of sweat and daily wear without risking water damage.
Dealing with Stubborn Stains and Salt
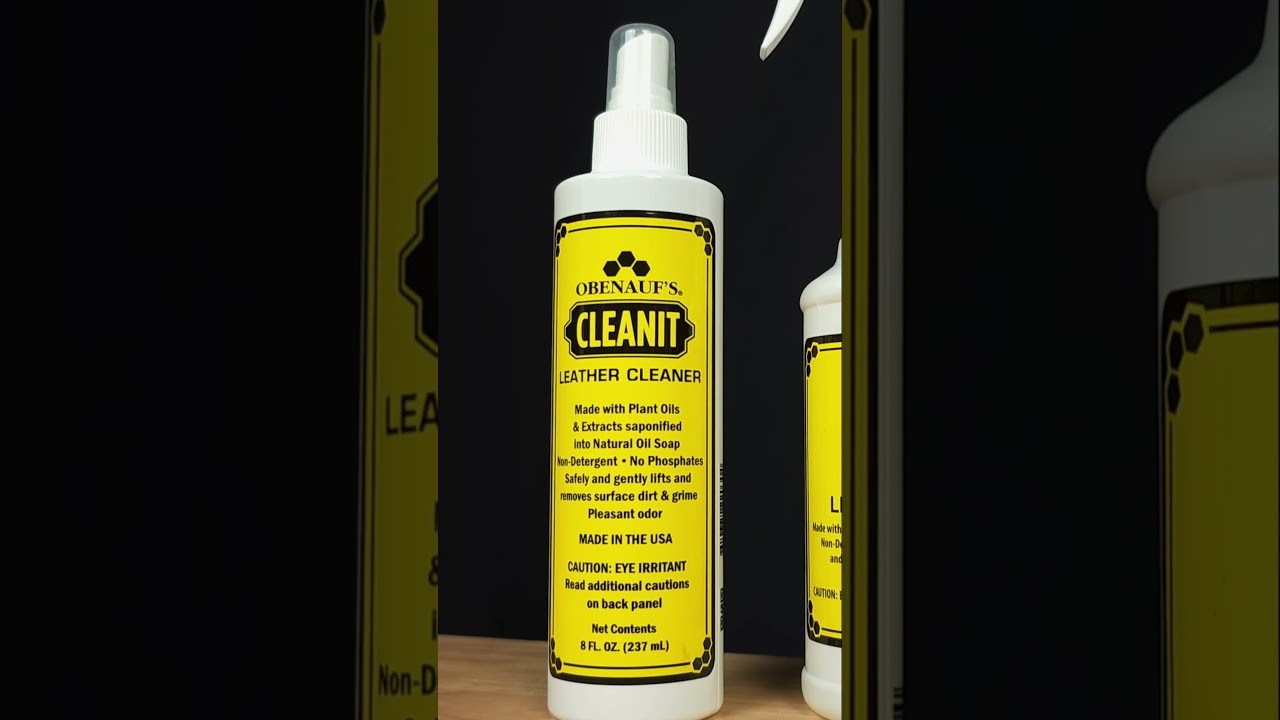
Sometimes the eraser meets its match. If you have been near the ocean or a chlorinated pool, you might be dealing with salt stains or deep set grime. In these cases, you need a specialized liquid cleaner formulated specifically for sensitive leathers like nubuck. You must be careful here.
Always perform a spot test before you commit to the whole sandal. Apply a tiny amount of cleaner to a hidden area, like the inside of a strap, and let it dry. This ensures that the cleaner won't cause unexpected discoloration. Once you are confident, apply a small amount of cleaner to a microfiber cloth and gently wipe the affected areas.
There is a specific technique you must use to avoid water rings. Do not just clean one small spot. If you apply moisture to a single area, it will often leave a permanent tide mark when it dries. To prevent this, clean the entire footbed uniformly so that it dries at the same rate. This ensures a consistent finish across the whole surface.
The Secret to Reviving the Nap
Once you have cleaned the sandals, you must let them dry completely. This is the "danger zone" where most people think they have ruined their gear. As nubuck dries, the fibers often stick together, leaving the leather feeling stiff and rough. Do not panic: this is a normal part of the process.
A little hack for the drying process is to use a rolled up towel. Place the towel inside the straps to help them keep their shape while they air dry. This prevents the leather from becoming limp or misshapen. Never use a hair dryer or a heater to speed this up. High heat is the enemy of leather and will cause it to crack.
After the sandals are bone dry, take your brush and vigorously work the surface. You are "teasing" the fibers back up. If the brush isn't enough to soften the leather, go back in with your nubuck eraser. The friction will break the tension between the fibers and restore that signature soft texture. This is the moment your sandals officially come back to life.
Conditioning the Straps Without Ruining the Footbed
While the nubuck footbed should never touch traditional conditioners, the straps are a different story. Many high quality sandals, like those made from bison leather, use smooth leather for the straps. These straps need moisture to stay supple and prevent cracking over time. You need to treat these two parts of the sandal as two different ecosystems.
Apply a pea sized amount of a high quality leather conditioner directly to a cloth. Work it solely into the smooth leather of the straps. Be incredibly precise. You do not want any of that conditioner to migrate onto your freshly cleaned nubuck footbed.
If you get conditioner on the nubuck, it will instantly flatten the fibers you just worked so hard to revive. Focus on the straps to keep them flexible and strong. This balance of dry care for the footbed and conditioned care for the straps is the secret to sandals that last for decades.
Protecting Your Investment for the Future
Now that your sandals are clean and soft, you want to keep them that way. A protector spray can create a barrier against future spills and sweat. However, you must be picky about what you spray onto something that touches your skin all day. Many cheap protectors are loaded with harsh chemicals that I wouldn't want near my family.
Choose a protector that is formulated without "forever chemicals" or toxic additives. Hold the bottle about six to eight inches away and apply a light, even mist. You are not trying to soak the leather. You just want a fine layer of protection.
Let the first coat dry for twenty four hours, then apply a second light coat for the best results. This simple preventive step will make your next cleaning session much easier. It turns a deep restoration project into a simple maintenance routine. Your sandals are now ready to handle another season of use while looking and feeling better than they did when they were new.
If this helped your leather, consider supporting Evumies. It is always free, and always will be. A small tip keeps the mission going: Support Evumies.
Watch the Full Video
See every step of this process in the video this post is based on.
Evumies Recommends
Products We’ve Tested & Trust
EVUMIES RECOMMENDED
Leather Honey Leather Conditioner
Keeps leather supple and crack-free — one coat lasts up to 6 months.
4.9
See on Amazon
EVUMIES RECOMMENDED
Bickmore Bick 4 Leather Care
Restores moisture to dried leather without darkening or leaving any residue.
4.7
See on Amazon
As an Amazon Associate, Evumies earns from qualifying purchases.